

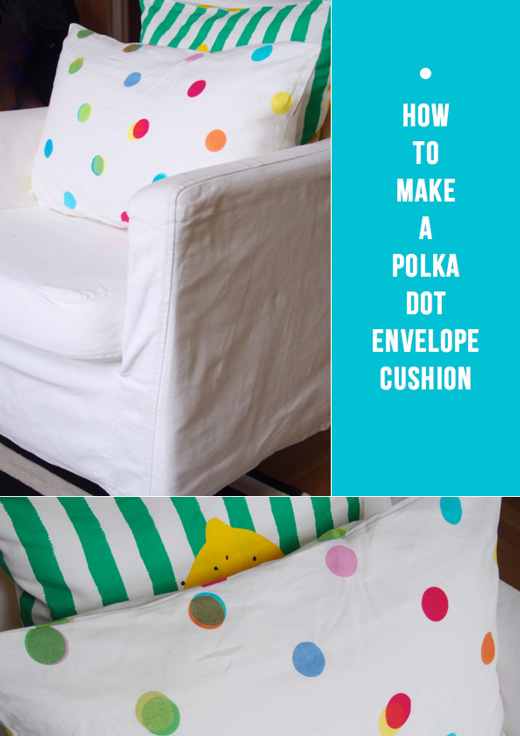
The other day I decided to make an envelope cushion cover out of this IKEA PS bedding and thought it would be fun to document how I did it. That said, before I kick off this post I have to preempt it by saying that I’m by no means a sewing expert but more of the dive-in-and-have-a-go type of crafter! Here are the steps I took to make the envelope pillow cover (this is for a square pillow):
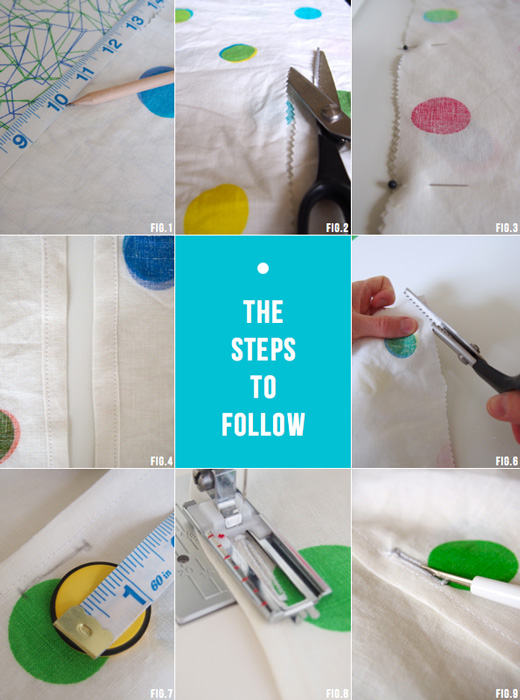
1. Measure and cut a piece of fabric that is one inch bigger than your cushion insert on all sides (to allow for the seam). I.e. A 12 x 12 inch cushion insert would require a 13 x 13 inch piece of fabric. This will be the front on your cushion.
2. For the back piece you need to make it longer to allow for the envelope close at the back: the width is the same as the front (13 inches) and the length is four inches longer at 17 inches. The back panel should be cut at 13 x 17 inches. Once you’ve cut out the back panel, then measure it in half and cut it down the middle lengthways.
3. You now need to hem the long edges of the two back pieces of fabric. To do this, fold the hem over towards the back of the fabric a quarter of and inch and then an other quarter of an inch again. Iron it down and pin it in place before you start sewing.
4. As you sew the hems be sure to do as close as you can to the edge of the hem to hold it down properly. You now have both back panels hemmed and ready to attach to the front piece of fabric.
5. Place the front piece of fabric down (pretty side facing you) and then place the two back panels on top of it (pretty side facing down), being sure to line up the edges with the front piece of fabric and that the hemmed edges are facing each other in the centre and that’s where the envelope opening will be. The other edges will be inside the cushion cover and so you won’t see those edges. Once in place, pin the pieces together and sew all the way around, leaving the space between the two hemmed edges open so you can place the cushion cover inside.
6. Once all the edges are sewn together, cut out the extra fabric on the corners of the cushion cover (being sure not to cut through any stitching) as this will give you neater corners when you turn the pillow the right way out.
7. Turn the cushion cover the right way out and find the middle point on the top part of the envelope fabric at the back. Place your button into the centre and draw a line the length of the button.
8. Set up your machine with the correct button sewing fittings and follow the manufacture instructions of your specific machine.
9. Cut out the centre of the button hole and then sew the button onto the piece of fabric behind the longer envelope fabric. Again, follow the instructions in the manual of your specific machine to do this.
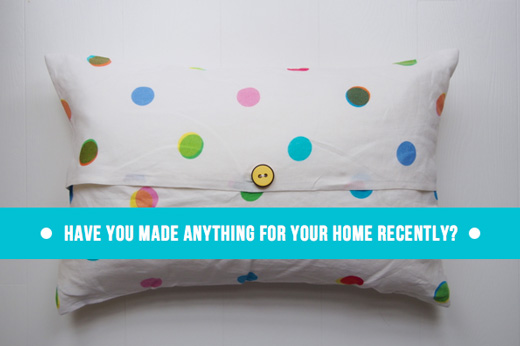
I’m really pleased with how my envelope cushion cover turned out! Have you made anything for your home recently?
// Photography by Will Taylor

25 Comments
very nice MR! I have yet to fight off this fear of the mighty sewing machine. Funny how everyone thought I know how to sew and yet I have never even touch a machine once. A friend even got me a vintage but very good quality one … I so need a push to break me into it.
I did do a wallpaper panel for Project Rental and am very happy with the result too. I will have to send you and Igor a copy when the magazine feature comes out!
Happy Monday MR!
@Tim – Yes, do – I would love to see!
I like it!!!!
I’m going to try it as soon as possible!!
tres joli !
i made a table cloth.
@Cecile – I bet the tablecloth looks great!
Are you using the little sewing machine from ikea? If so, would you recommend it for entry level sewers/crafter ? Is it user friendly and easy to get on with?
Lovely cushion by the way.
@Samantha – No, I use a machine I bought from John Lewis a few years ago. It’s nothing too fancy but is a little more advanced than the one I’ve seen in IKEA. That said, I’m sure the one in IKEA would be fine for occasional sewing of simple pieces like cushions etc.
oh thanks Will, I must have seen the IKEA machine used by another blogger recently somewhere else, I’m on the lookout for a not too expensive machine that can handle straight line sewing. 🙂 nothing too fancy.
Your pillow looks really nice, good job! I like sewing, because you can create so much for your interior with fabrics :).
Combining fabric scratches is my favorite – I don’t have the time and ambition to make detailed quilts, but just by sewing basic squares together, you can get the right textile for your home. I made this pillow: http://neovias.blogspot.fi/2013/06/a-pillow-from-fabric-scratches.html
@Katja – Wow, your pillow looks great!
This is such a cute idea and a great project for someone like me, who is not terribly experienced in sewing. I have an old Ikea Kath Kidston duvet from years ago, and this would be a great way to use that fabric!
what a fantastically lovely, simple, genius diy.
xx
http://petalandplume.blogspot.ca/
Just leaving a note to say you are the cutest thing at that sewing machine! I want a Bright Bazaar polka-dot pillow 🙂
It looks lovely !
ANETTE
Love this, Will. The first thing I learned how to sew were pillow cases too…they’re actually very easy once you know how, it’s the patience of learning the machine etc that’s a killer! Great job!
You look so good looking like you know what you’re doing 😉
Happy day Will, here it is soo sunny and it’s just FAB.
Happy happy Tuesday,
Axx
Oh my, so fun the description “pretending to look like I know what I’m doing!”..anyway, great smile! 😉
Ahaha Fantastic!! 😀 both phrase and expression. It coul be mine because I’ve just learned to sew. I’ll try this DIY.
I’ve done cushions too! But also metallic web baskets … ehm… 😛
@Katia – Metallic web baskets? They sound AMAZING!
Even better than metallic web … cushions!! 😛
😀
I’m just trying … maybe I will show the result!!
@Katia – Yes, please do!
This looks like a great little project, will have to give it a try 🙂
Can’t you just make one for me and I will give you biscotti or whatever … because it totally looks like you know what you’re doing! By the way, that cracked me up!
Wow! Very good work! I love that Ikea’s fabric 🙂
Serena
Yes, I went to a lampshade making class at my local fabric shop Millie Moon and made a fabulous lampshade using a book spines design fabric. Have just bought a kit to make a bigger lampshade next. Lovely to see you sewing away Will might encourage more guys to get stitching ,
Jo xxx